Key Takeaways:
- Set seat height so your feet rest flat on the floor with knees at a 90-to-100-degree angle.
- Position lumbar support directly in the curve of your lower back to prevent lumbar spine flattening.
- Keep monitors at arm’s length with the top third of the screen at or slightly below eye level.
- Maintain elbows at a 90-to-105-degree angle with wrists straight and unsupported by hard edges.
- Alternate between sitting and standing every 30 to 45 minutes to keep dynamic blood flow moving through spinal discs.

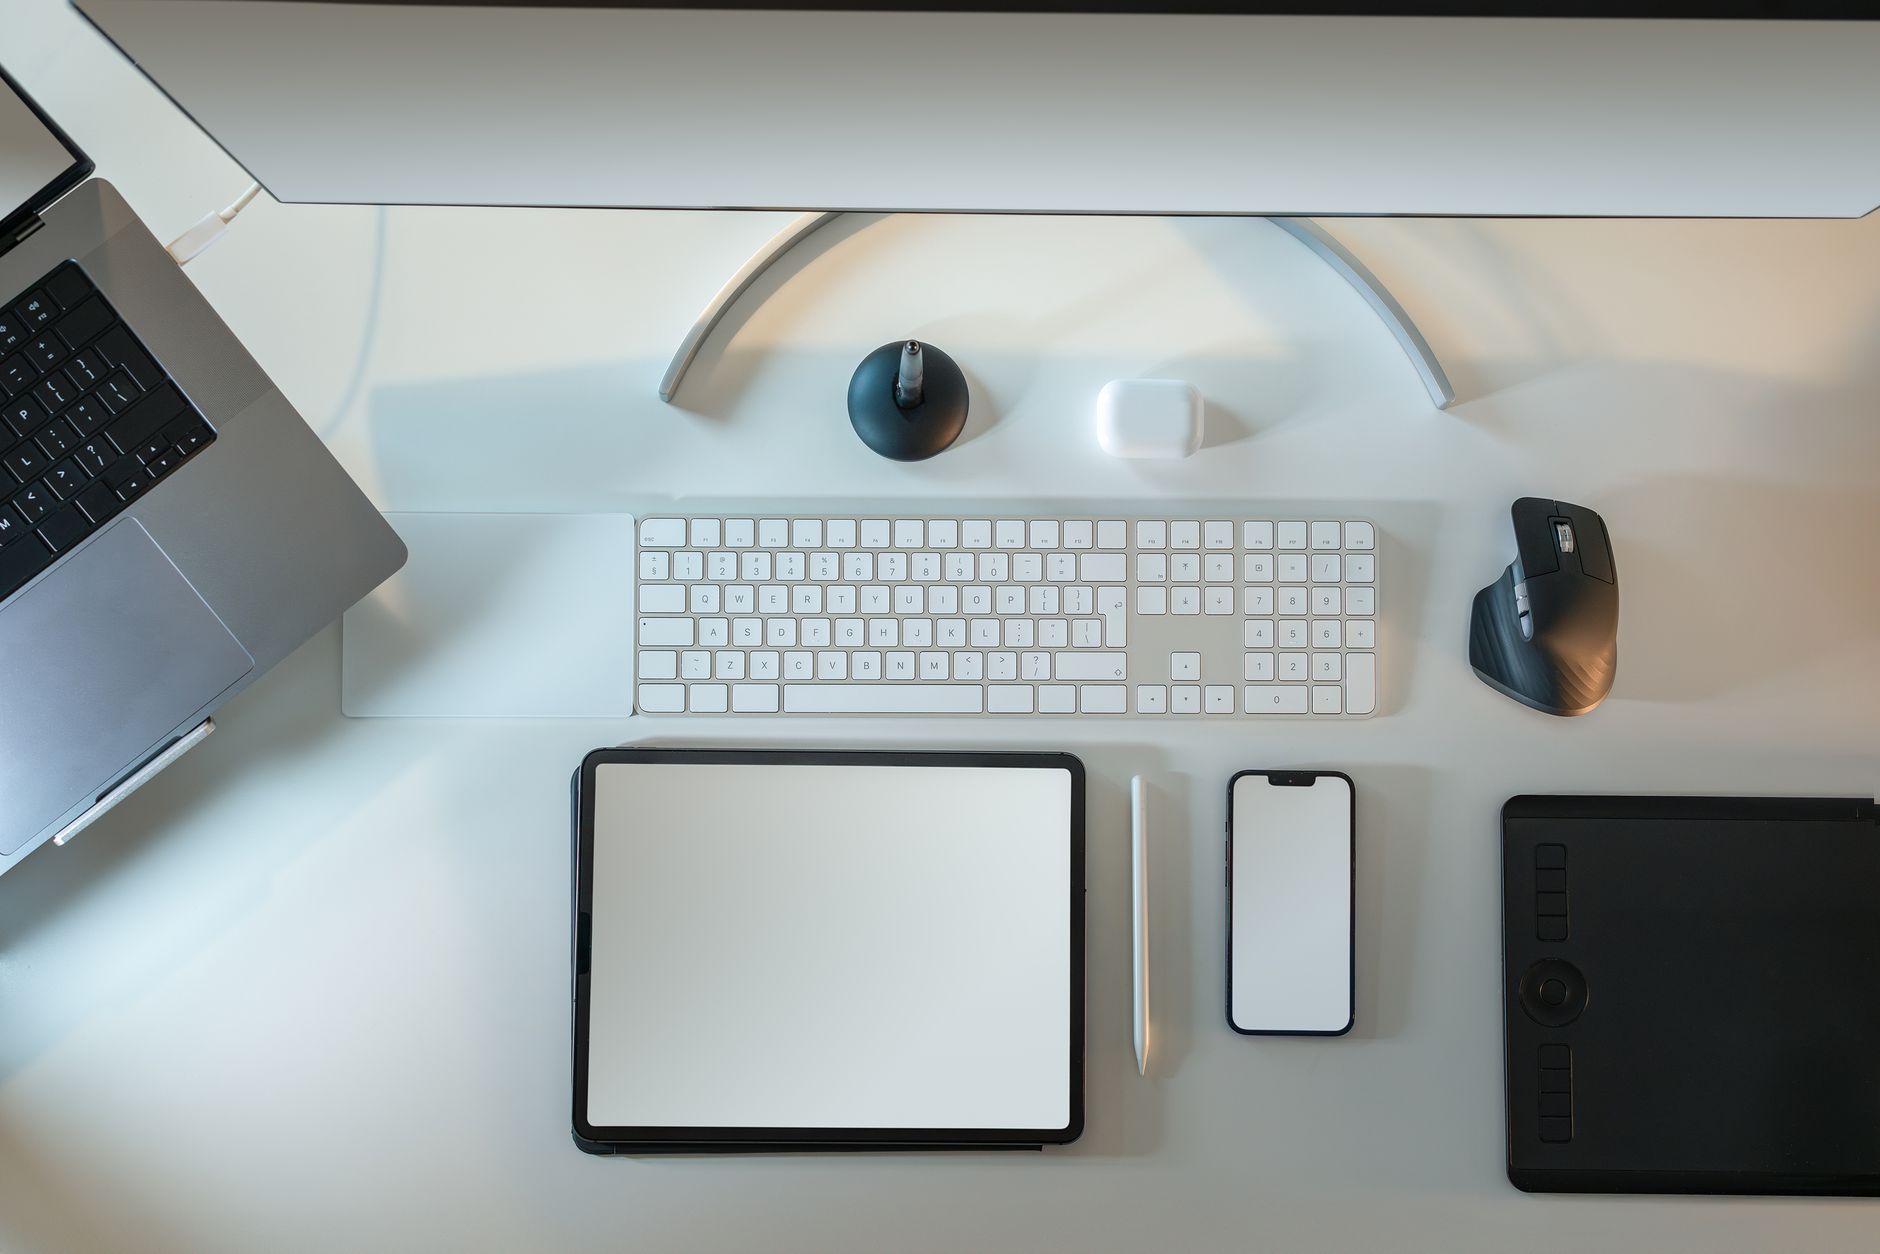
Photo by Jonathan Borba on Pexels
Optimizing Chair Geometry: Lumbar Support and Seat Depth
Your chair is the foundation of your entire workstation setup. When your lower spine lacks solid structural backing, your abdominal muscles tire and your torso slumps forward. This slumping increases mechanical load on your lumbar discs, causing persistent lower back aches by mid-afternoon.
Adjusting the Lumbar Support
Locate the natural inward arch of your lower back (the lumbar spine). Your chair's lumbar cushion or curved backrest should fit snugly right into this hollow space. Set the height so the most prominent part of the curve supports your lower spine directly. Adjust the tension so it gently pushes your pelvis into a neutral vertical position without forcing your back into an unnatural arch.
Setting Seat Pan Height and Depth
Adjust your seat height until your feet rest completely flat on the floor. Your thighs should sit parallel to the ground, forming a clean 90-to-100-degree angle at the knees. Next, check your seat depth: leave a two-to-three-finger gap between the front edge of the seat pad and the back of your knees. A seat pan that slides too far forward cuts off circulation and forces you to sit away from the lumbar support.
Keyboard and Mouse Placement: Neutral Arm Positioning
Reaching too far forward for your keyboard or bending your wrists upward creates continuous tension across your shoulders, upper back, and neck. Correcting arm geometry relieves upper back tightness almost immediately.
Finding the Correct Desk and Armrest Height
Lower or raise your desk surface until your elbows bent at a 90-to-105-degree angle hang naturally beside your torso. Your shoulders must remain completely relaxed, not pushed up toward your ears. If your chair armrests force your shoulders upward even at their lowest setting, remove them or drop them below desk level.
Eliminating Wrist Strain and Edge Contact
Keep your keyboard and mouse close enough that your elbows stay tucked near your sides. Avoid resting your wrists on hard desk edges while typing, as this compresses nerves and causes compensating movements in the thoracic spine. Use palm rests only between typing sessions, or elevate your desk tray slightly to keep your wrists neutral and flat.
Photo by Jonathan Borba on Pexels
Monitor Heights and Angles: Stopping Forward Head Posture
Forward head posture is one of the leading contributors to upper back and neck pain. For every inch your head leans forward past your shoulders, you add roughly 10 extra pounds of effective force on your upper back muscles.
Eye-Level Alignment
Sit back fully in your adjusted chair and extend your arm straight ahead. The top line of text on your primary monitor should align directly with your eye level, located about an arm's length away. When reading down the page, your eyes should drop naturally without your chin dipping down toward your chest.
Multi-Screen and Ultrawide Setup Rules
If you use a single primary monitor with a secondary laptop screen, place your main screen directly centered with your nose. Position the secondary screen adjacent to it at the same eye height. If you use dual monitors equally, place them so their inside edges meet directly in front of your nose, angled slightly inward like a soft V-shape.
Integrating Sit-Stand Rhythms for Dynamic Spine Health
Even the most perfectly adjusted desk setup causes discomfort if you remain completely static for eight hours straight. Intervertebral discs rely on movement and pressure changes to absorb moisture and nutrients.
Optimizing Sit-Stand Ratios
Standing all day presents its own problems, including lower back fatigue and pooled blood in your legs. Aim for a balanced ratio: sit for 30 to 45 minutes, then stand for 15 to 20 minutes. When transitioning your standing desk upwards, make sure the desktop reaches the exact same elbow-height alignment as when you were seated.
Incorporating Micro-Breaks
Set automated reminders on your desktop or phone every 30 minutes. Use these short 60-second breaks to stand up, perform a subtle standing back extension, or roll your shoulders backward. These micro-movements reset muscle tension and break up continuous static loading on your lower back.
Foot Support and Lower Body Stability
Your lower spine depends heavily on pelvic stability, which is impossible if your feet are dangling or unevenly planted. If your legs hang freely, your pelvis tilts backward, flattening the natural curve of your lumbar spine.
Selecting and Using a Footrest
If your desk cannot adjust down far enough to let your feet sit flat while keeping your arms at a 90-degree angle, you need a dedicated ergonomic footrest. Choose a wide, non-slip footrest with an adjustable angle. Resting your feet firmly on a tilted platform shifts weight off your thighs and keeps your pelvis anchored correctly against your chair's backrest.


No comments:
Post a Comment